Kylie Jenner’s Effortlessly Undone Red Carpet Waves in 5 Steps
By: Amanda Coscarelli
If anyone knows how to shake things up and name the next big trend, it’s Kylie Jenner. Her red carpet look at the 2026 Academy Awards did just that. While her red hot dress gave glitz and glamour, her undone and effortlessly tousled beachy waves balanced the vibe. A classic Hollywood blowout would have felt too predictable. A sleek updo would have sharpened the look, but it could have felt too uptight. Her undone curls put a playful spin on Hollywood’s perfectly photoshopped night, and undoubtedly started a cultural phenomenon that we’ll be seeing on red carpets again and again.
While Jenner’s waves appeared effortless, her stylist would assure you they weren’t. Tousled, less polished hair is making a comeback in a big way, but don’t be fooled– it doesn’t always require less effort to achieve. And it definitely doesn’t require less product. Luckily, we’ve compiled a 5 step guide to recreate her iconic look, and we’ve included our favorite products, tried and true. Let’s jump into it!
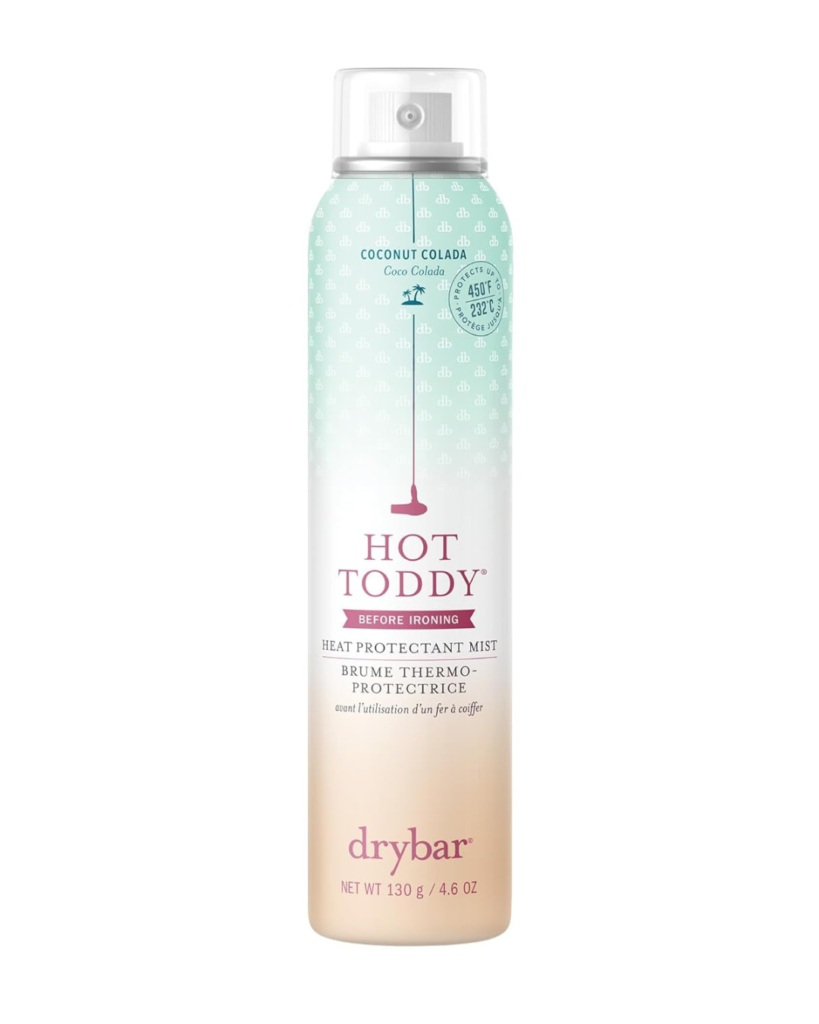
No one with a proper stylist comes within 5 feet of a curling iron without heat protectant. Okay, maybe I’m being dramatic. But you should never touch your hair with heat of any kind, even a blow dryer, without applying a product to protect it first. Trust me, I learned the hard way before my hair dresser scolded me. Try this spray from Dry Bar, and thank me later for the yummy fragrance. It smells like a coconut colada, and protects your hair up to 450 degrees fahrenheit.
Step 2: Curl
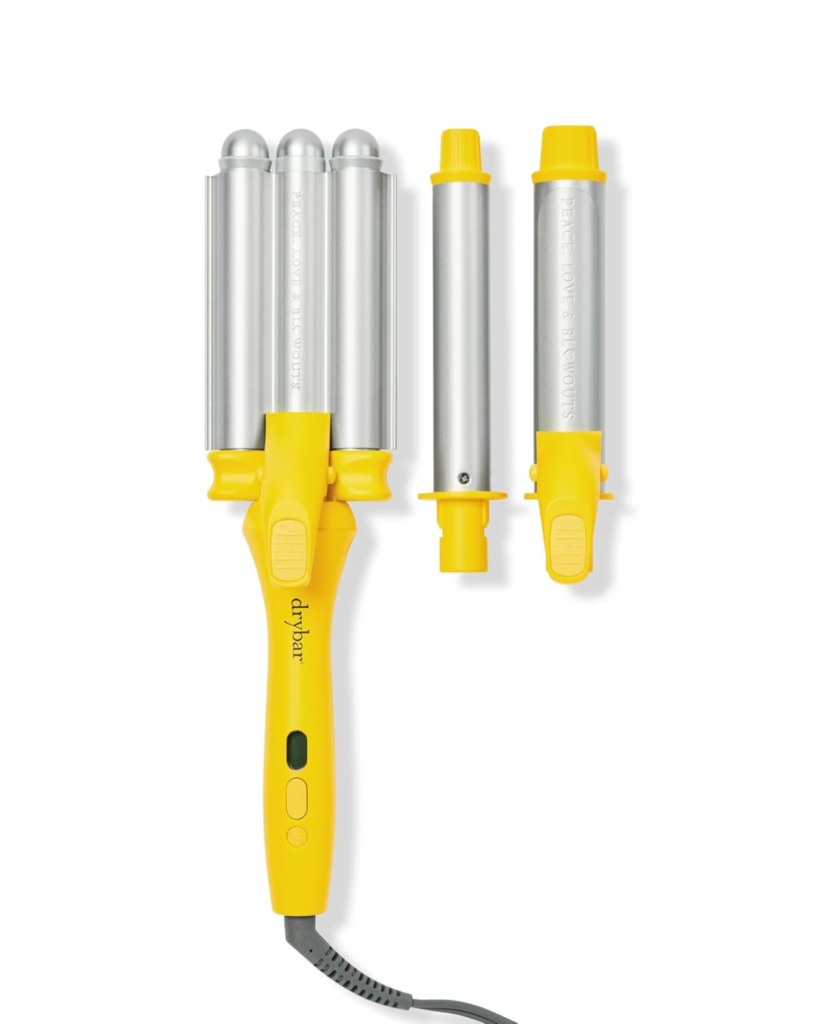
Drybar The Mixologist Interchangeable Styling Iron
This one is self-explanatory, right? Wrong. The way you curl your hair and the iron you use can make a huge difference. Jenner’s beachy waves are tighter at the bottom, which probably means her stylist used a curling wand. Make sure to section your hair and work with small sections at a time to achieve a similar look. Her hair is also parted off-center, but you can part it down the middle and flip it after the curling process for more volume. Dry Bar’s three-in-one styling iron is my favorite for the best results and the most versatility. Don’t forget to let your curls cool down before brushing them out.
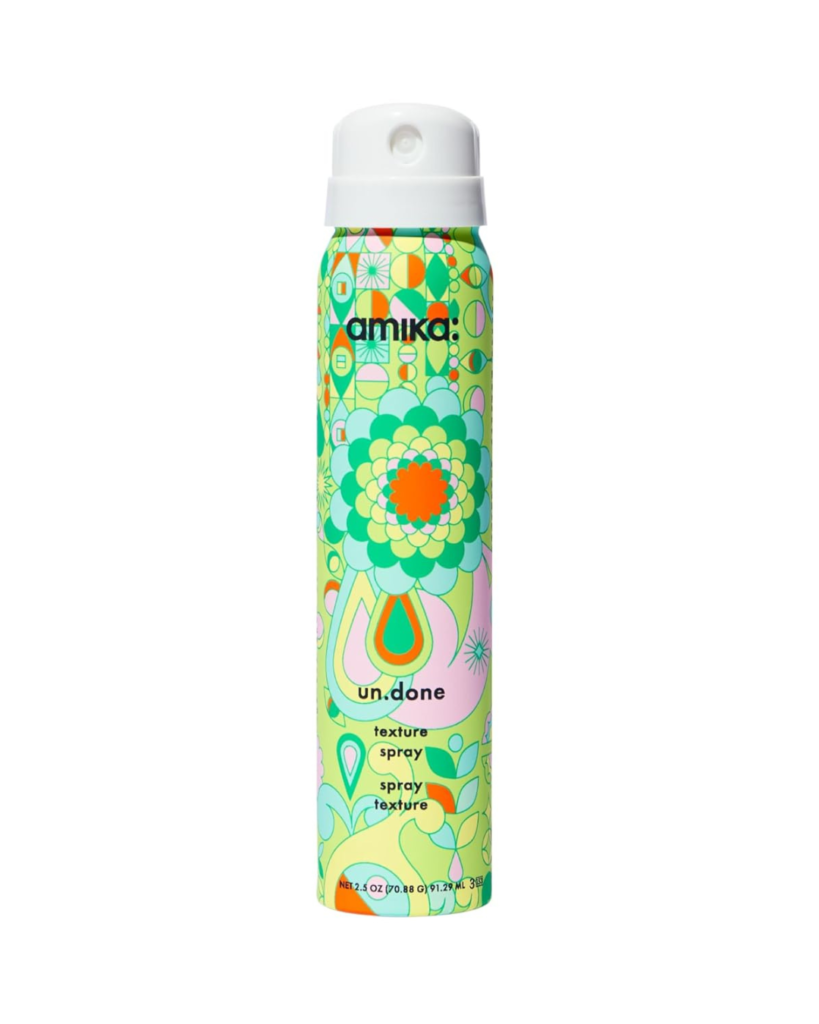
After the initial curl, you can add texture to your hair with a volumizing spray to really give it that “just came from the beach” look. Spray it through the lengths of your hair and tousle it a bit for dimension. Amika’s un.done volume & matte texture spray is perfect for this effortlessly undone style. It’s also lightweight and won’t hold down your curls.
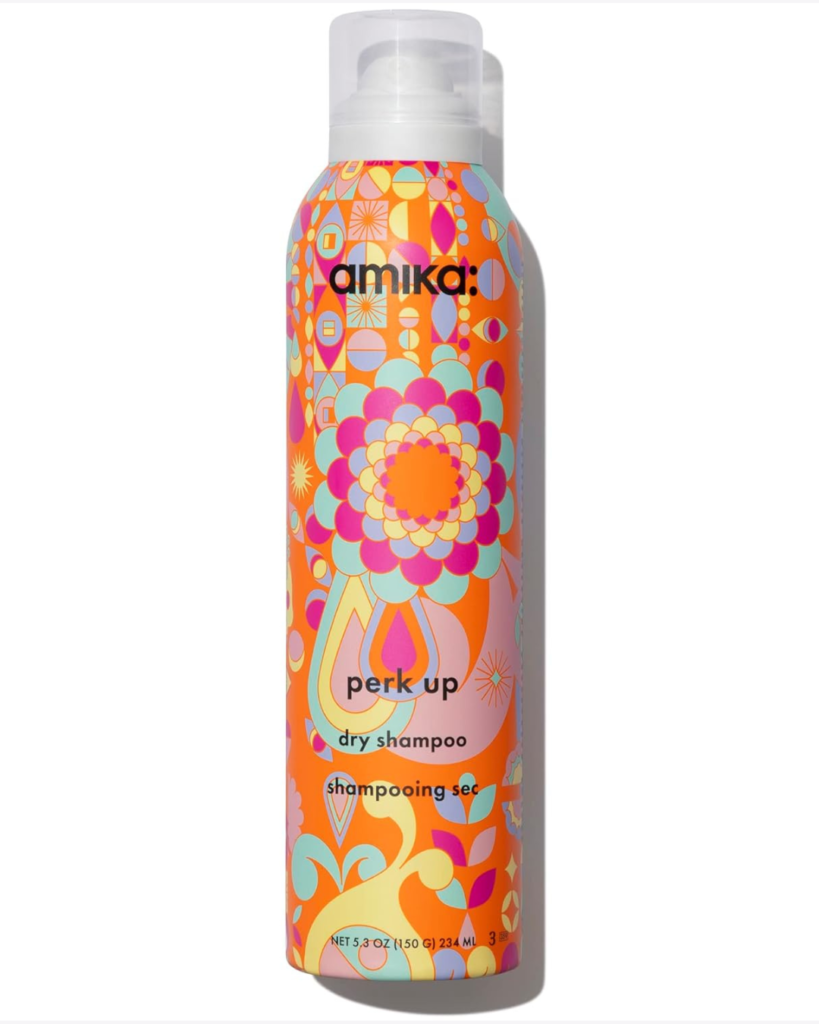
For added volume at the roots, and to ensure that your curls don’t weigh down the look, dry shampoo is your best friend. Before flipping your hair into a side part, spray some dry shampoo on the roots and back-comb it with a fine tooth comb. When the product has set, flip the top layer to the side and repeat the process on the next layer of hair so it’s not flat on one side. My favorite dry shampoo is Amika’s perk up, because it doesn’t leave that white residue on your roots, making it perfect for a grab and go situation.
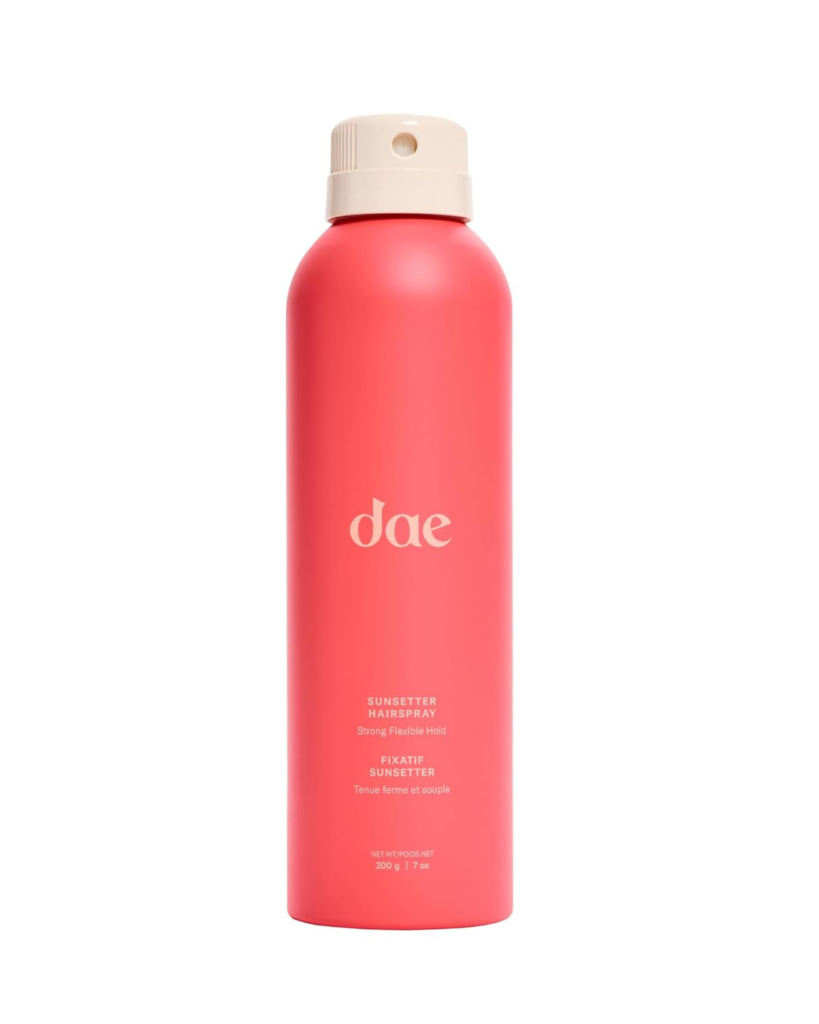
Let’s finish it off with some good old fashioned hair spray. DAE’s Sunsetter locks in your curls all night long without feeling sticky or crunchy. Make sure to add any finishing touches to your look before going in for a final spritz, and curl those front pieces you flipped one more time to really define them. You can also focus on the ends of your hair with a narrow barrel. Then, give your whole head a spray and tousle it a little more.